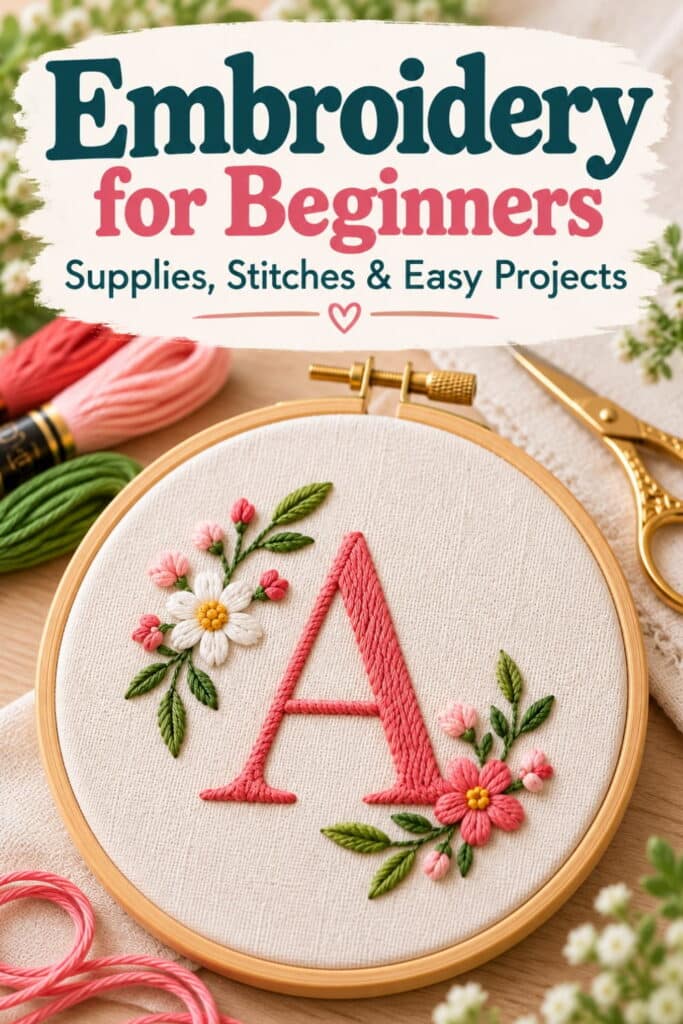
Embroidery for Beginners: Supplies, Stitches, Easy Projects
If you’re looking for a new craft to try, you can’t go wrong with embroidery. For hand embroidery, you only need a needle, thread, and fabric. It’s one of the easiest and least expensive crafts. It’s also one of the most flexible crafts, letting you create everything from simple decorative designs to intricate designs, and it’s a great way to make personalized gifts.
The best part is that you don’t need to learn dozens of stitches to make something beautiful. This guide to hand embroidery for beginners covers the basic supplies, a few easy stitches, and some fun project ideas to help you get started.
What Is Embroidery
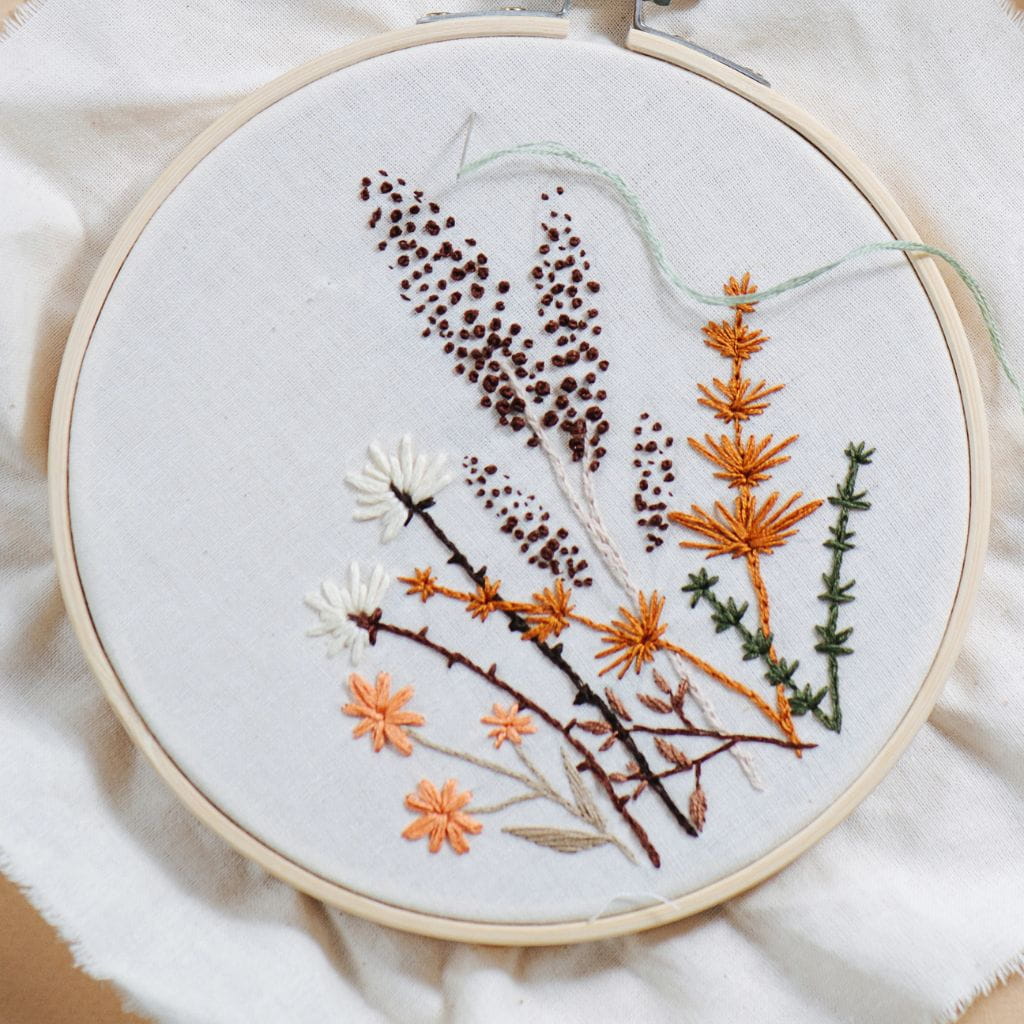
Embroidery is the art of decorating fabric with thread. By combining different stitches and colored threads, you can create flowers, lettering, patterns, and all kinds of decorative designs.
Unlike machine embroidery, which requires a sewing or embroidery machine, hand embroidery is inexpensive to start. And since it only requires a few supplies, you can do it almost anywhere.
I love embroidery for its versatility. You can embroider designs onto clothing, tote bags, pillow covers, tea towels, or simply display your finished work in an embroidery hoop. It’s a relaxing craft that lets you keep it simple or be as creative as you’d like.
What Supplies Do You Need for Embroidery
One of the nice things about hand embroidery is that you don’t need a lot of supplies to get started. Just a few basic tools are enough to begin practicing stitches and creating your first designs.
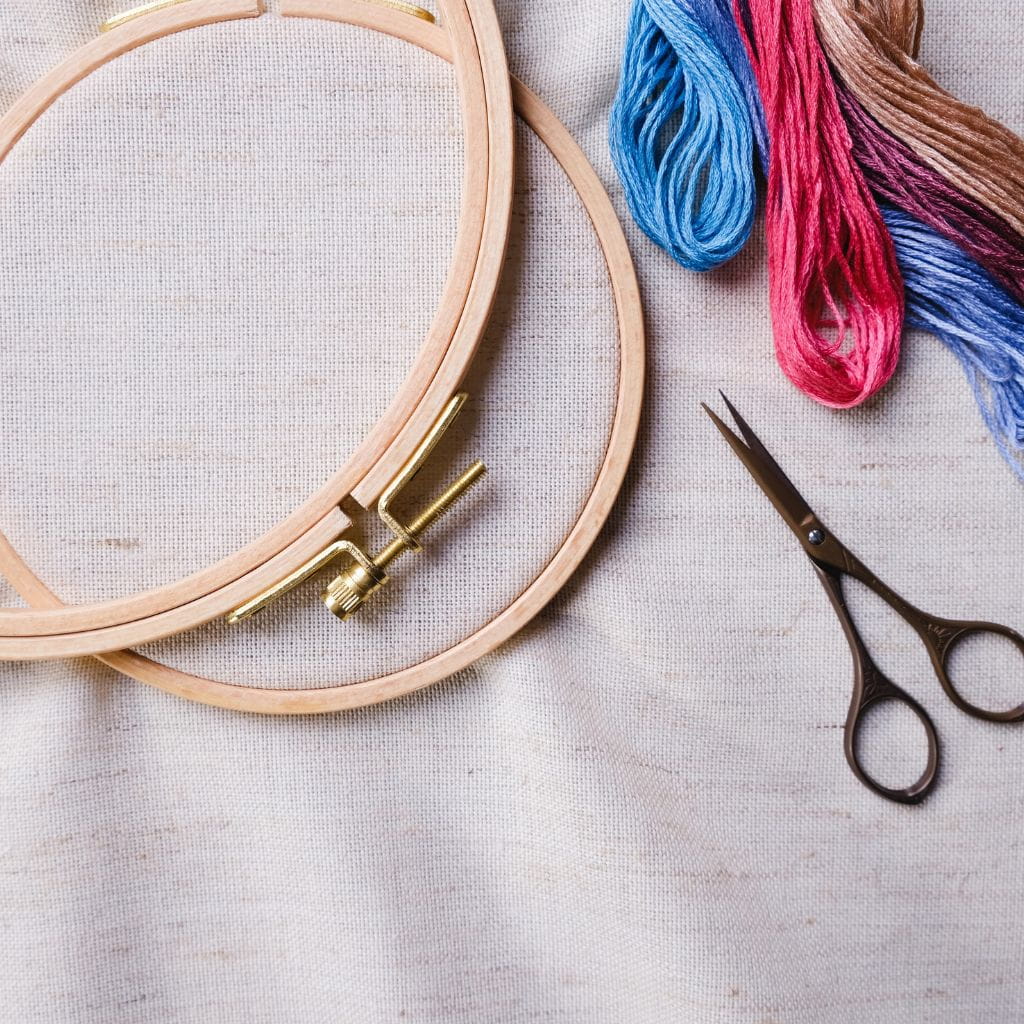
- Embroidery hoop: Holds your fabric taut while you stitch. A 6-inch wooden hoop is a good size for beginners.
- Embroidery floss: Colorful thread made specifically for embroidery. Most embroidery floss has six strands that you can separate depending on how thick you want your stitches.
- Embroidery needles: Look for needles with a larger eye that makes threading embroidery floss easier.
- Fabric: Cotton or linen with a fairly tight weave is a good choice for beginners. Avoid stretchy fabrics until you’re more comfortable with stitching.
- Small scissors: A sharp pair of embroidery scissors makes it easier to trim threads neatly.
- Embroidery pattern: Start with a simple design that uses just a few basic stitches. You can purchase patterns or find free beginner patterns online.
- Fabric marking pen: A water-soluble or heat-erasable fabric pen can help you transfer designs onto your fabric. Always test it on a scrap first.
You can also purchase a beginner embroidery kit that includes most of these supplies, along with a pattern and instructions. This is an easy option if you’d rather try embroidery before buying everything separately.
Basic Embroidery Stitches for Beginners
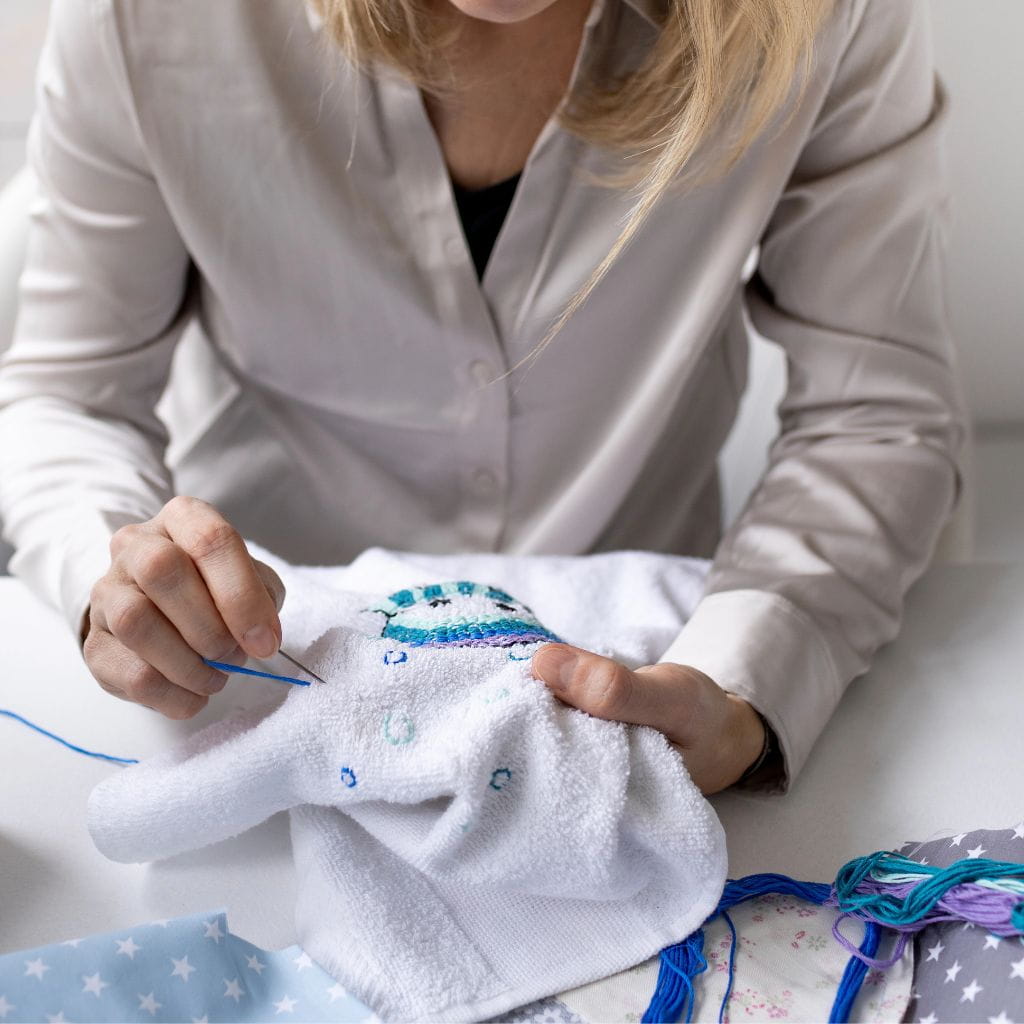
Another thing that I love about embroidery is that you don’t need to master a lot of stitches in order to create beautiful designs. In fact, just a handful of basic stitches can be used to make flowers, lettering, borders, and other decorative patterns.
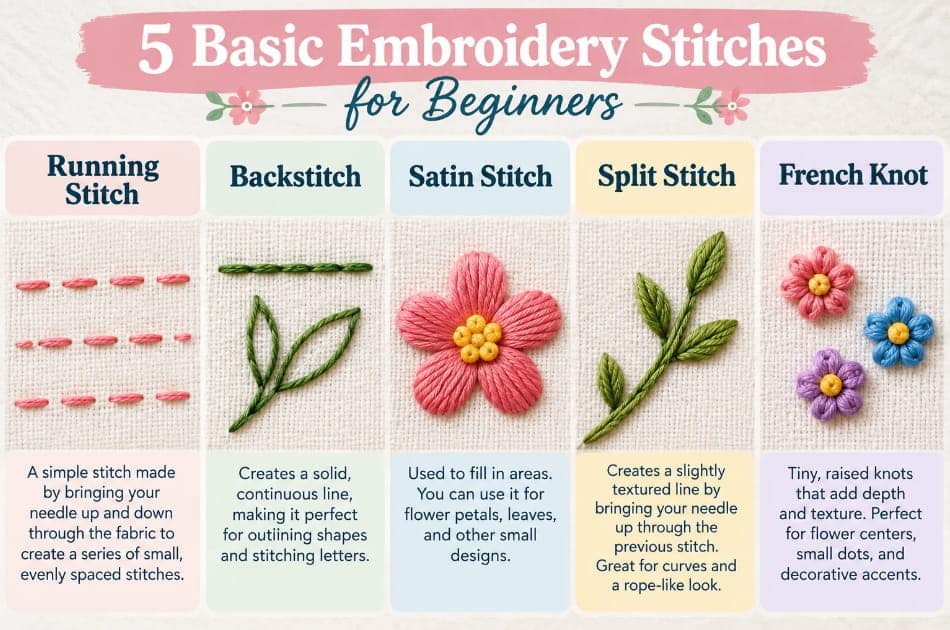
Here are five stitches that I think are a good place to start for beginners.
Running Stitch
The running stitch is one of the simplest embroidery stitches. You simply bring your needle up and down through the fabric to create a series of small, evenly spaced stitches. Think of it like a dashed line.
Backstitch
The backstitch creates a solid, continuous line, making it especially useful for outlining shapes and stitching letters.
This is a good stitch to practice because it is used in many embroidery projects.
Satin Stitch
Where the running stitch and backstitch are both used for outlines, the satin stitch is used to fill in areas. You can use it for flower petals, leaves, and small decorative designs.
Split Stitch
The split stitch creates a slightly textured line by bringing your needle up through the previous stitch, splitting the thread.
The split stitch is good for creating curves, texture, and more of a rope-like look.
French Knot
French knots add a lot of depth and texture to embroidery. They are tiny, raised knots that are perfect for flower centers, small dots, and decorative accents.
This one may not be a truly beginner stitch, but it’s one that I recommend learning because it’s so versatile for adding detail to a design. You may find it a little tricky at first, but once you get the hang of it, it’s a fun way to add dimension to your designs.
Beginner Tip: Practice stitches on a scrap piece of fabric before starting your first project. Don’t worry about making every stitch perfect. Just learn the stitch so that you feel more comfortable when you start your project. The more you practice, the more comfortable you’ll become with controlling your needle and thread.
Video Tutorials
There are lots of great tutorials online, but here are a couple I like. The first one covers 5 basic stitches: the running stitch, back stitch, split stitch, stem stitch, and chain stitch.
This next one covers 20 stitches, including some you may or may not use, but I think it’s fun to see a variety of embroidery stitches. I also like this video because it has no talking. So if you prefer how-to videos without narration, then this one is for you.
Easy Embroidery Projects for Beginners
Once you’ve practiced a few basic stitches, it’s time to put them to use! You don’t need to start with anything complicated. Some of the prettiest embroidery projects use just one or two simple stitches.
Embroidered Blanket
You can make a special gift by adding a little embroidery to a plain blanket. You don’t need to embroider the entire blanket. A small design in one corner is enough to make it special. Add a name, initials, a few small flowers, or a simple decorative design to personalize it.
Personalized Tote Bags
A plain cotton tote bag is the perfect blank canvas for embroidery. Add a name, initials, a small flower, or a simple design to make it your own.
I think the only tricky part about putting embroidery stitches on a tote bag is that it’s a little tougher since the back of the bag can get in your way while stitching. But if you use a large tote bag, then it won’t get in your way at all.
Embroidered Tea Towels
Tea towels are another fun way to practice embroidery while making something useful for your home.
Try stitching a small flower, a row of hearts, or a simple design along the bottom edge of a cotton tea towel. They also make lovely handmade gifts.
Embroidery Hoop Art
One of the easiest ways to display your embroidery is to leave your finished design right in the hoop.
A popular thing to do is to stitch a favorite saying, a name, initials, or a simple seasonal design that you can hang on the wall.
Embroidered Bookmarks
Fabric bookmarks are small projects that don’t take much time or supplies. You can embroider tiny flowers, initials, or decorative borders onto a strip of fabric.
Once your embroidery is finished, add a backing fabric to hide the stitches and give the bookmark a neat finish. Pair the bookmark with a new hardcover book and you have the perfect gift for a book lover.
Decorative Pillow Covers
A simple embroidered design can turn a plain pillow cover into something special.
Start with a small design in one corner instead of trying to decorate the whole pillow. Removable cotton or linen pillow covers work well for this type of project.
Embroidered Greeting Cards
Hand-embroidered greeting cards are a fun way to turn a few simple stitches into something you can give to someone special.
There are a couple of options for this. You can either embroider on fabric and then attach that to cardstock, or insert it into the opening of a photo card. Or, you can embroider directly onto the paper.
With sturdy cardstock, use a needle to carefully punch holes along a simple design, such as a heart, flower, or star. Then stitch through the holes with embroidery floss to create your design.
Embroidery for Beginners Tip: Choose a small design with only a few colors and stitches for your first project. That way you’ll get the joy of finishing something without getting overwhelmed by a complicated pattern.
Ready to Give Embroidery a Try
So what do you think? Are you ready to start your first project? Even if you don’t feel up for a project yet, start with some fabric, a needle and thread and start stitching. From there, you can branch out to a project whenever you’re ready. Hopefully this embroidery for beginners guide has sparked your interest in trying this great craft. I don’t think you’ll be disappointed.
Follow me on Pinterest for fun and easy craft projects and ideas. Which one of these embroidery for beginners project ideas is your favorite? Please leave a comment and let me know.

- Knitting vs Crochet: Which Is Easier for Beginners? - October 23, 2026
- How to Start Knitting for Beginners: Easy Step by Step Guide - October 21, 2026
- 10 Easy Needle Felting Projects for Beginners - October 18, 2026